Sunday, December 11, 2011

13 weeks ♥

I am 13 weeks along in my pregnancy! I am feeling pretty good. I'm running after my 14-month-old, which is keeping me in shape & making the first 13 weeks go by quickly! 

Our baby is the size of a peach! (2.9 inches, .81 oz.) This week little teeth and vocal cords are forming in our litte peach!

Friday, December 2, 2011

Baby #2!

Happy December!!

On the fourth of December, I will be 12 weeks along in my pregnancy!


Our baby is the size of a plum! (2.1 inches, .49 oz) We are very anxious to find out the sex of the baby. That should happen sometime in January, between 17 & 20 weeks. As I grow, I will be posting pictures and updates.


Friday, November 11, 2011

Meals In A Jar


I found this idea online and thought it was fabulous! As you may have guessed, I LOVE canning jars and am always looking for ways to use them. This is a fun way to have a meal ready to eat at home, work, or on the go.

Here's how I made my Pesto Pasta Salad

Once I started boiling water for my pasta (I used penne noodles, but you can use spiral or bow tie too), I began to make my homemade pesto. Feel free to use premade pesto. Trader Joe's has a yummy pesto in the fresh section and also in their pasta sauce isle. I got my food processor ready and added the following ingredients:

2 handfuls of fresh basil
1/3 cup roasted pine nuts (you can always toast raw pine nuts yourself or just buy them already roasted)
3 T of olive oil
2 t crushed garlic
A pinch of salt and fresh ground black pepper

Puree all the ingredients until smooth; add more basil or oil if needed. If it's too thick, add a little oil; and if it's too runny, add some more basil. Just taste it as you make it and add whatever it needs to your liking!

Once you've made your pesto and pasta, you can start layering your meal. Put a few spoonfuls of pesto on the bottom as your first layer. Halve grape tomatoes for the next layer. The pesto with help the tomatoes keep their fresh color. Next, pile on cubes of your favorite cheese. I used pepper jack, but mozzarella would be delicious too! Finally, add your pasta and screw on the lid. I bought reusable lids. They are great to use once you open a jar that has been vacuumed, but they come in handy for canned recipes that don't need vacuuming in the first place. Stack your jars in the fridge and eat them within a week. Mine look a little dewy because they were in the fridge for a while before I was able to take pictures.

There are SO many other options for a meal in a jar. I want to try chicken salad next time:

1st layer: marinated chickpeas OR black beans (marinated in the dressing of your choice)
2nd layer: chopped grilled chicken
3rd layer: chopped bell pepper
4th layer: halved grape tomatoes
5th layer: chopped lettuce

Just shake the jar and your chicken salad is ready to eat!

Wednesday, September 28, 2011

Toasted Coconut

I made a tray of toasted coconut for a cookie recipe which turned out to be a flop. I was left with a full container of toasted coconut that sat in my pantry for a day or two before I realized just how much I could do with it!

No only did the coconut make my house smell amazing, I ended up using it for so many things! One morning I sprinkled it on my oatmeal, another day I made coconut maple syrup and topped my pancakes with my toasty flakes. You can use it over ice cream & smoothies, or on top of frosted cookies & cupcakes. 

It's an inexpensive way to add a nutty, tropical flavor to SO many dishes!

Just pour a bag on sweetened coconut flakes on a rimmed baking sheet lined with parchment paper. Make sure that the coconut is spread evenly on the sheet. Bake at 350° for about 20 minutes or until all of the flakes are perfectly golden. Be sure to stir the flakes every 5 minutes to ensure an even toast.

Tropical Watermelon Sorbet

Giada De Laurentiis has a show called Giada at Home where she features dozens of delicious dishes. We record her show so I can write down all of my favorites! I've gotten some fabulous recipes from that show!

This Tropical Watermelon Sorbet recipe is one that was featured on her show. When I watched her make it I was instantly smitten! We have the exact ice cream/sorbet maker that she used, so I think it was meant to be! This sweet & tangy dessert is perfect during a hot day or to serve after a dinner party. It will take your tastebuds to a tropical paradise!

What you'll need:
  • 1 (2-pound) piece seedless watermelon, rind removed and flesh cut into 1-inch pieces to yield about 3 1/2 cups
  • 1 (6-ounce) can pineapple juice, chilled
  • 3/4 cup ginger ale, chilled
  • 1/3 cup fresh lime juice (from about 3 large limes)
  • 1/2 cup grenadine (recommended: Rose's)
I recommend that ALL of the ingredients be chilled before you use them.

In a blender, blend the watermelon, pineapple juice, ginger ale, lime juice, and grenadine until smooth. Pour into an ice cream maker (I have the "Cuisinart ICE-21 Frozen Yogurt-Ice Cream & Sorbet Maker") and freeze, according to the manufacturer's instructions, for about 35 minutes.


10 minutes:
20 minutes:
30 minutes
Spoon into glasses or small bowls and serve.


Delicious!!


*Just a note: the ginger ale can be replaced with dark rum.*

Saturday, September 3, 2011

Double Chocolate Brownie Dough Balls

Hello September!!


I love Fall and all of it's beauty! Such amazing colors, & warm feelings! I can't get enough of fresh apples & school supplies. :)

September is the perfect time for planning and making fun school snacks and treats. These little bites are adorable, delicious, & perfect for school or work lunches.

This recipe for Double Chocolate Brownie Dough Balls is froOhSheGlows.com  

 
  • 1/2 cup raw cashews
  • 12 Medjool dates (1 cup packed & pitted)
  • 2 tbsp cocoa powder
  • 1/2 tsp pure vanilla extract
  • 1 tbsp pure maple syrup
  • 1/4 tsp kosher salt, or to taste
  • 1/4 cup chocolate chips
  • 1/4 cup shredded coconut
  • 1/4 cup chopped walnuts


  • 1. In a food processor, add the cashews and process until a fine crumb. Be sure not to over process and release the oils too much.
  • 2. Now add in the pitted dates and process until chunky. Add in the rest of the ingredients (except walnuts) and process until a dough forms. Stop to scrape down the sides of the bowl as necessary. Pulse in walnuts so they remain chunky. Add a bit more liquid sweetener if dough is too dry.
  • 3. Form into balls and store in fridge or freezer.


  • These little bites have the perfect amount of sweetness and pop.
    I stored mine in the freezer and they always kept their chew!


    Friday, August 5, 2011

    I Can Do The Can-Can!

    Welcome to Maggie's Canning tutorial!! I canned salsa for the first time the other day, and I documented the entire process! :)
    I received a batch of home-grown tomatoes from a family friend and decided to use them for my first canning experience. Daniel has been building our garden and I'm days away from being able to start planting (I am BEYOND excited about that!). So I'll be canning a lot of things from my own garden pretty soon.

    For my batch of salsa, I gathered the following ingredients:

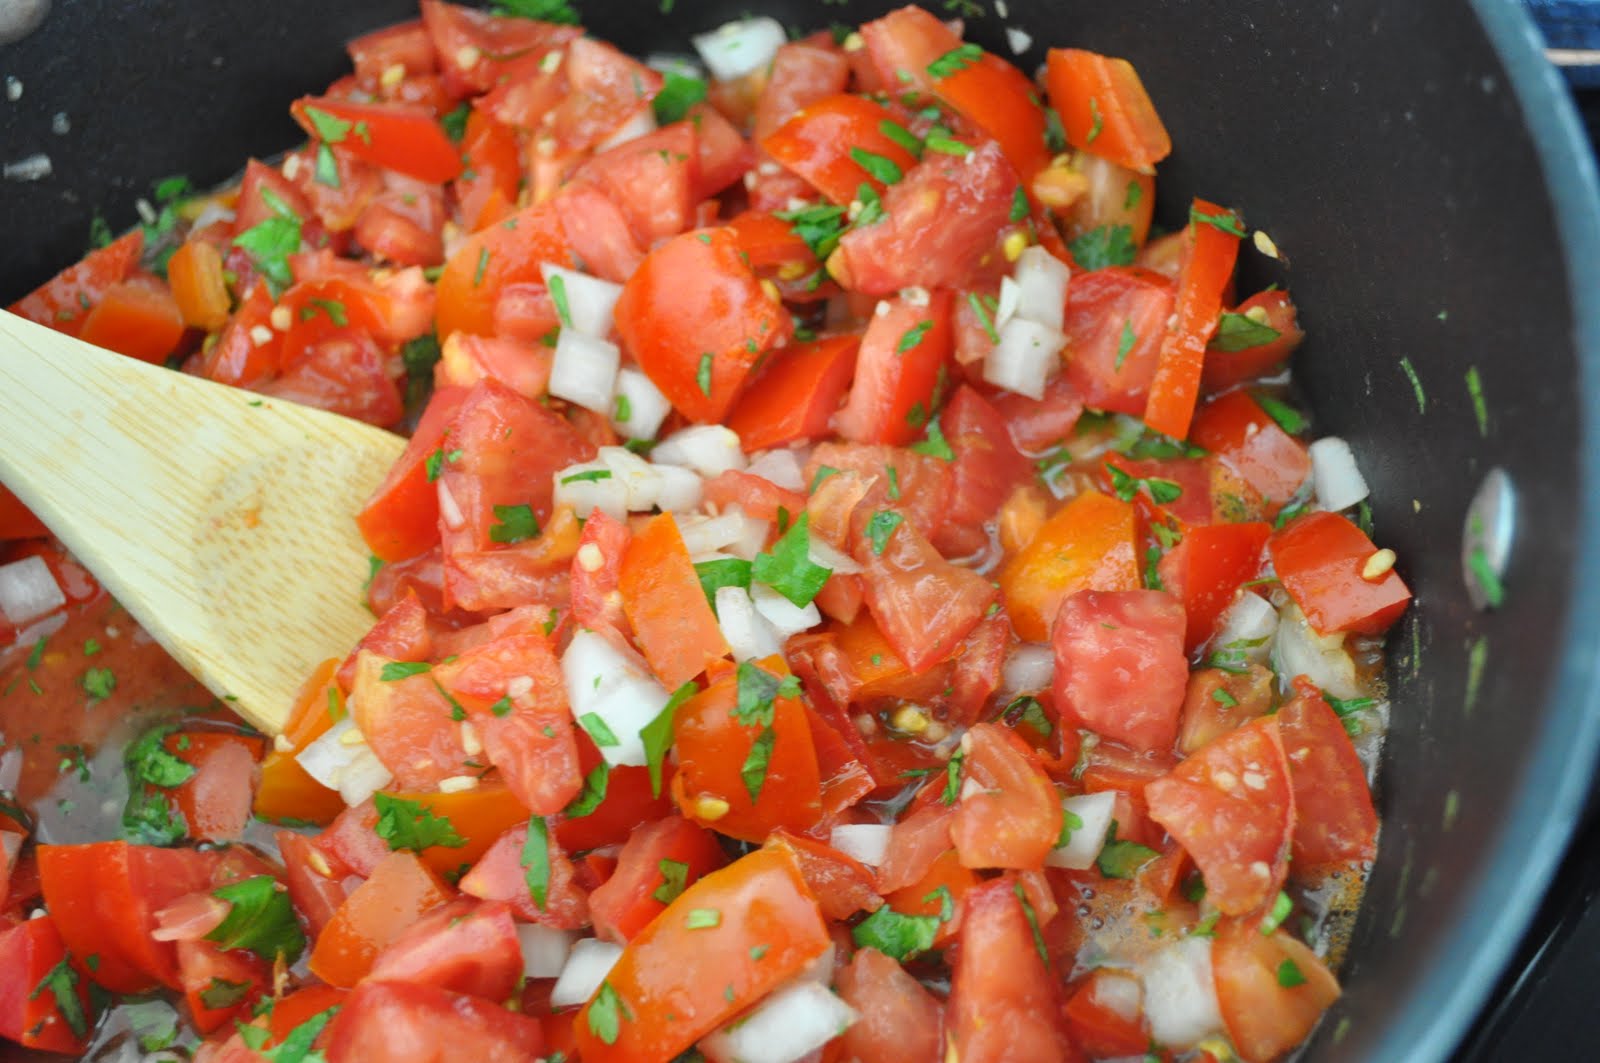
    *3 1/2 cups of chopped tomatoes
    *1 bunch of cilantro (you don't have to use that much, I just LOVE cilantro)
    *1/2 of a yellow onion
    *1 tbsp minced garlic
    *the juice from 1/2 of a lemon
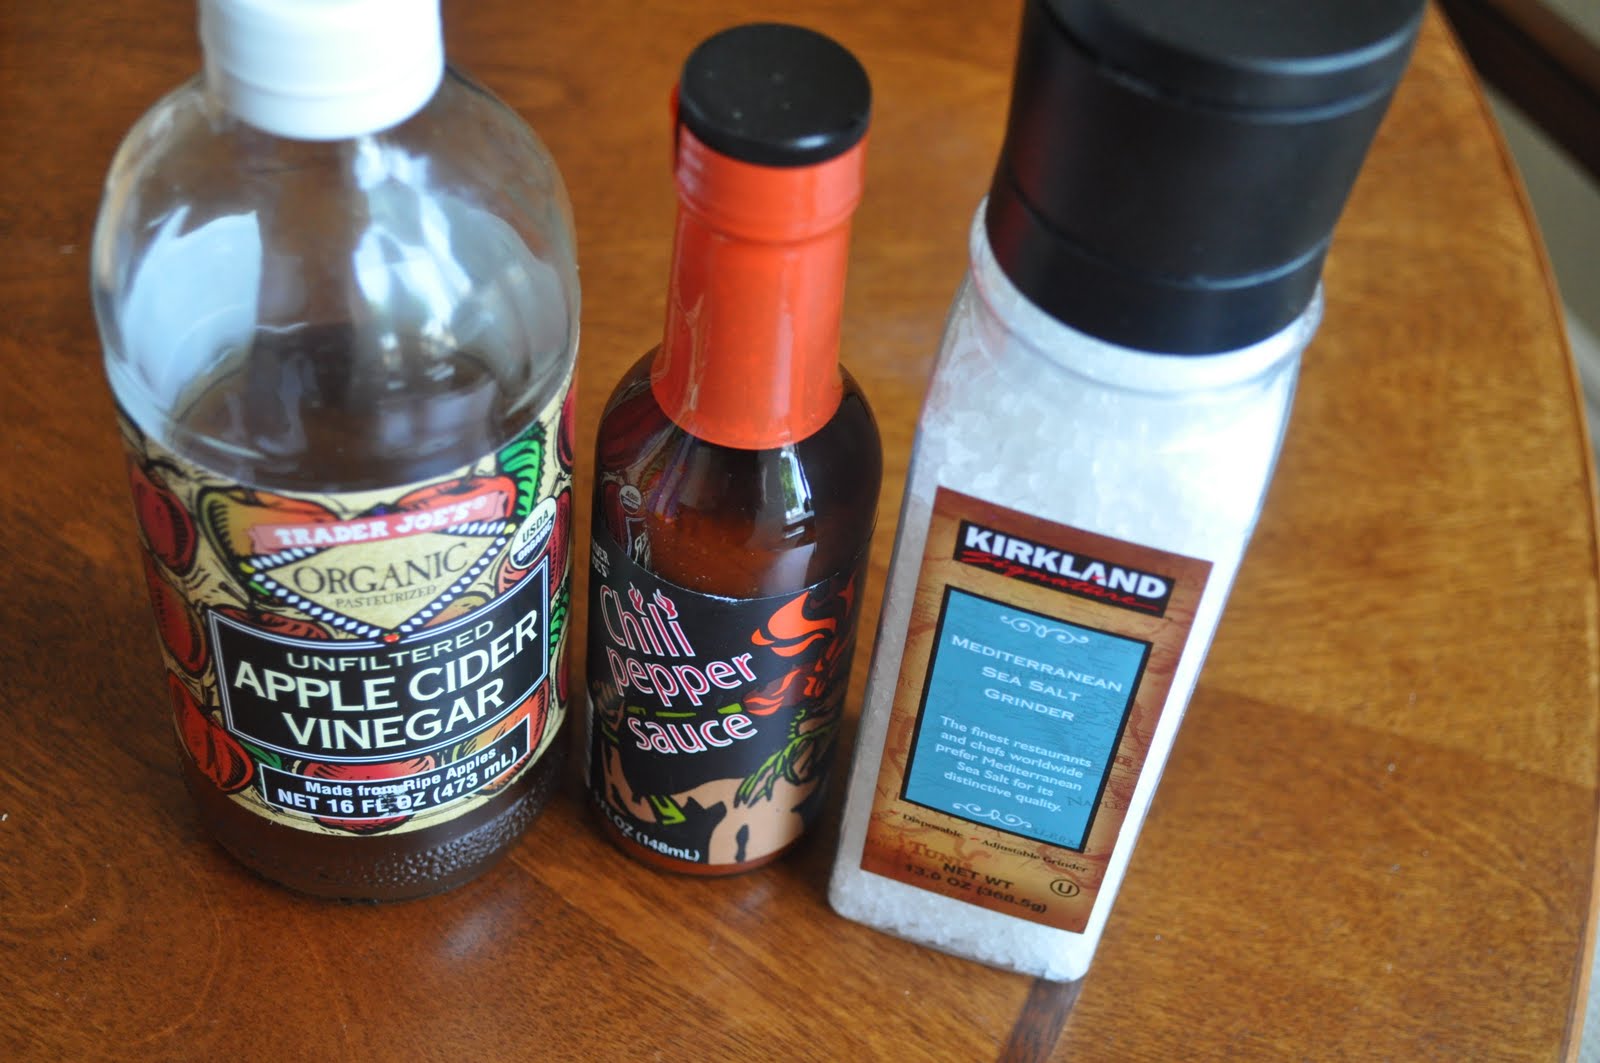
    *a few dashes of your favorite hot sauce (my favorite is the Chili Pepper Sauce from Trader Joe's)
    *1 tsp salt
    *1 tbsp apple cider vinegar

    Here is a list of tools you will need:

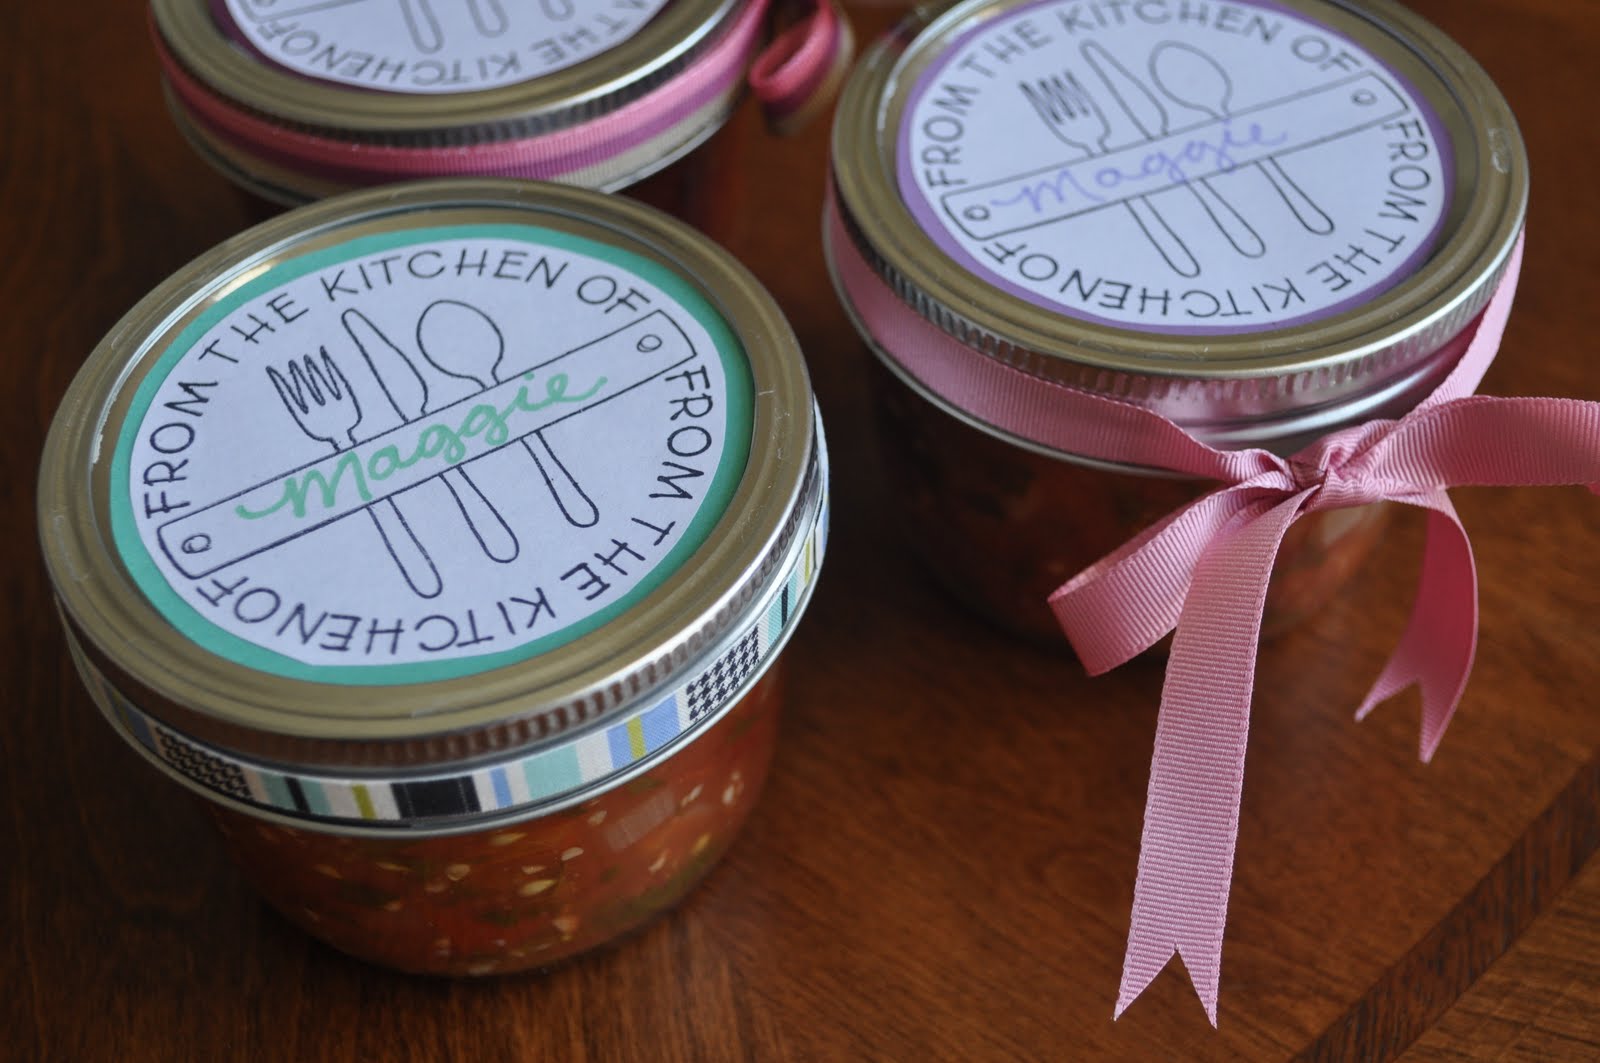
    Jars of your choice (this recipe filled six 8oz Kerr Mason Jars)
    A large pot with a lid for the canning process.
    A wide pot or dish filled with hot water to keep your jars hot.
    A medium size pot for cooking the ingredients.
    A caning basket and tools. I bought these at Walmart:

    These came in a kit together:
    This is another kit:


    You want to start off by washing and drying all of your jars and lids. Place the jars in the wide pot filled with hot water. This will keep the jars hot so that they won't crack when you fill them with hot liquid. Next, chop all of the ingredients and place them in a the medium pot on medium/high heat. Reduce and boil gently, stirring frequently, until slightly thickened, about 10 minutes. Carefully ladle the salsa into the warm/hot jars, leaving 1/2 inch of room from the top. There is a tool that helps you with this step! (it's the first tool in the top picture) Using that same tool, flip it over and run it along the side of the jar to release any air bubbles. Wipe the rim of the jars and secure the lid and ring. Place all of your filled jars in the caning basket/rack and set them into the pot of boiling water (make sure the jars are covered with water by at least one inch.). Put the lid on the pot and let the jars sit in the boiling water for 20 minutes. Remove the lid and wait five minutes then carefully remove the jars from the pot and let them cool for 12 hours to complete the canning process. Don't readjust the lids while they are cooling because this might mess with their seal.
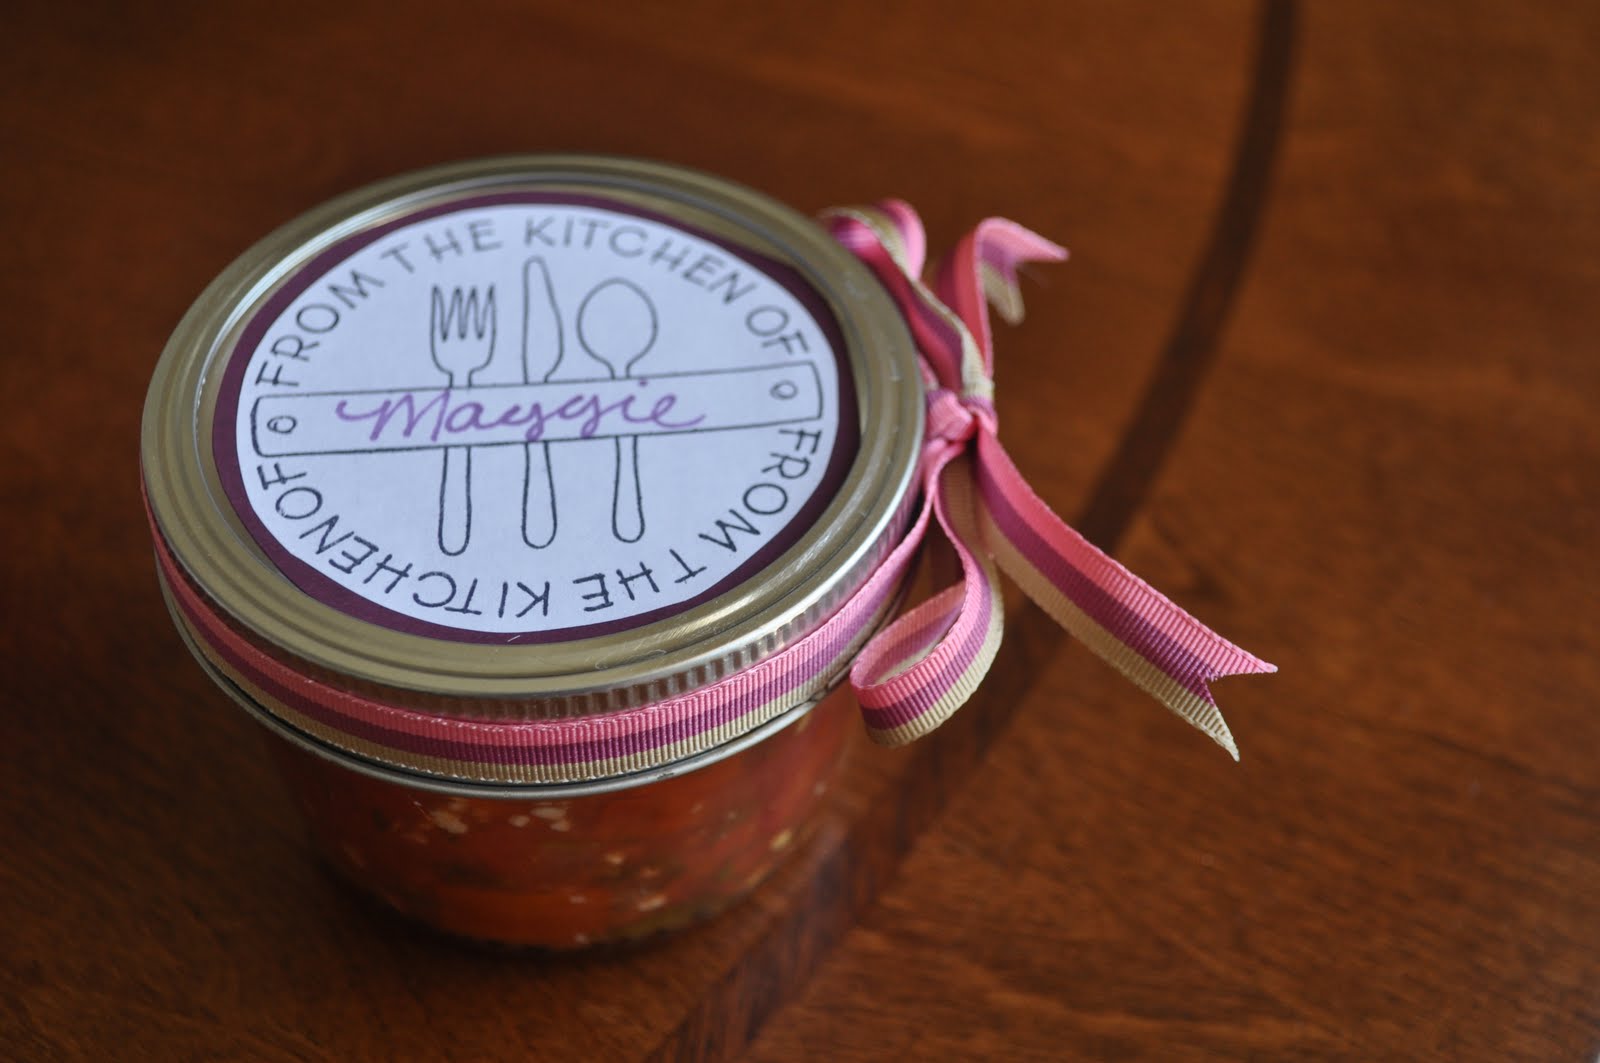

    Perfect for the pantry or as gifts!

    Lemon Peppered Salmon with Quinoa Salad

    This is one of my favorite meals! I absolutely LOVE lemon pepper and it pairs so beautifully with Salmon. If you have never worked with quinoa, it's super easy and very delicious! It's also very versatile!


    Ingredients for baked salmon:


    1 frozen salmon fillet, defrosted (we buy frozen salmon fillets at Costco, but a fresh fillet will work too.)
    2 tbsp extra virgin olive oil
    freshly ground lemon pepper (Trader Joe's has lemon pepper in a grinder for $1.99!)
    1 lemon


    But before you start baking your salmon, start cooking the quinoa. We'll chop our add-ins while the salmon is baking, but the quinoa needs some time to cook first.


    Ingredients for quiona salad:


    1/4 cup uncooked quinoa (I use the Organic Quinoa from Trader Joe's)
    1/2 cup water (or some kind of broth like chicken or vegetable)
    a small handful each of dried cranberries, fresh basil, and almonds.


    Place the quinoa and the water in a small saucepan on the stove and bring to a boil. Once it's reached a boil, reduce to simmer and cook for 10-12 minutes or until all of the water is absorbed.

    While the quinoa is cooking, prepare the salmon:
    Start by making a "foil boat" for your salmon, and place in on a baking sheet. Drizzle one tablespoon of olive oil in the foil and spread in around, place the fillet in the foil and drizzle with he remaining olive oil. make sure your the top and bottom of the fillet is evenly coated with oil. Cover the fillet with lemon pepper; the oil will help it stick. Cut a few slices of the lemon and save the rest for squeezing on the salmon when its cooked. Arrange the lemon slices on the fillet and place it in the oven for about 25 minutes or until its flaky (and not raw looking :)


    "Foil Boat" so the oil doesn't go anywhere.

    Restaurant quality from your kitchen! 
     Here is my favorite lemon pepper from Trader Joe's!
    On the right is what is in the grinder,
    on the left is what comes out when you grind it. 
    While the salmon is baking, chop all of the add-ins for the quinoa salad. Chop the almonds, dried cranberries and fresh basil into small pieces, ans set aside until the quinoa is cooked. Once the quinoa is ready, take it off the heat and add the almonds, cranberries and basil into the pot. the leftover heat will help infuse the quinoa with the rich flavors of the add-ins.


    Let both the salmon and the salad sit for a couple of minutes before serving so both are not too hot. When you are ready to eat, poke holes in the salmon or break it apart with your fork and squeeze the rest of the lemon on top. A little bit of lemon tossed with the salad would be good too. YUM!


    NOTE: You can really add anything you want to a quinoa salad! don't feel limited. Other options are: dried apricot, chopped apples, cinnamon, and any other nut or fresh herb. Play around with it and let me know what you create! :)

    Wednesday, July 13, 2011

    Easy, Healthy, Lettuce-less Salad

    This is a super easy, very versatile salad that you can whip up in a few minutes. I really wanted some hearty bites with dinner the other night, and I always have these veggies on hand. You can use other veggies or add different ones (bell pepper, mushrooms, radishes...), but these were my go-to veggies that night.

    Start by gathering these ingredients:

    1/3 of a cucumber
    1 tomato
    1 avocado (you can use half, but I LOVE avocado so I used the whole thing!)
    1 green onion
    a handful of cilantro
    1/2 of a lemon OR lime
    a drizzle of balsamic vinaigrette.
    salt & pepper to taste
    a sprinkle of walnut pieces (this is a key ingredient!)

    Chop all of the veggies into bite-sized pieces and toss in a small mixing bowl, except the avocado. When all of the other veggies are mixed together, THEN you can add the avocado, tossing gently. The avocado is so delicate that it could break down if it's mixed to hard. Salt & pepper the veggies to taste. Squeeze the lemon and drizzle some balsamic vinaigrette dressing on top and toss one more time. Pour the salad into your serving bowl and top with walnut pieces. Walnuts are rich in fiber and omega-3 fatty acids. Not only are the health benefits awesome, but they pair perfectly with the creamy texture of the avocado. Divine!

    This was enough for me to eat with a small portion of dinner because it's so rich with flavor, however, this would be enough for two people to enjoy!

    Just look at how beautiful this is!!

    Sunday, July 10, 2011

    Must-Have Bags!


    I was able to get these reusable produce bags for next to nothing when SaveMore.com was having a deal. I bought a voucher that was good for $20 worth of reusable bags by Esse (essereusablebags.com), for $8. When I signed up for SaveMore, I got a $10 credit so my purchase was FREE! (I just had to pay shipping for the bags) Normally, each pouch of produce bags are $11.95. After using the bags several times, I believe they are well worth the $12. It was so nice that I got a great deal, but I love them so much that I would have paid full price for them! I'm even thinking about buying more as gifts.

    I decided to purchase produce bags because I have a plethora of everyday reusable bags and I had never seen reusable produce bags before!

    What a find!!


    We went to the farmers market on Saturday with one big reusable bag and one of our pouches of produce bags. We were able to get all of our produce and other items in all of our produce bags that conveniently fit in the one big reusable bag. All of our purchases were separate and it was nice not having a pile of plastic produce bags from all of the vendors.

    Each package of six bags comes in a cute pouch with a carabiner clip attached (which makes it SO convenient to clip onto other reusable bags, purses, backpacks, etc.) The produce bags are 11" x 14" and are made of washable nylon mesh.

    I'm posting about these bags because I REALLY like them! If you buy a lot of produce and go through a ton of produce bags, I highly recommend these! They are washable and come with a draw string for easy closure; I love that feature!