Friday, May 27, 2011

D'anjou; what a view!

While grocery shopping the other day, I passed by some D'anjou pears and was stopped in my tracks.; they looked so delightful! I gathered some Fuji apples too and arranged them on my favorite Pampered Chef tray. They brighten up my kitchen!

Pretty.

Wednesday, May 25, 2011

A Little Bit of This, A Little Bit of That.

When lunch time rolled around yesterday, I had no idea what to make. My main problem was that we had yet to go grocery shopping, so my supply was depleted. I rummaged through the fridge and found 2 bell peppers, orange and green, that were hidden beneath a bag of celery. Both peppers were going south, and I probably had one more day before they were unusable. I then poked around the cabinets and found a can of kidney beans that have been there for a while (Daniel is not a fan), and my last can of garbanzo beans. I thought for a few minutes then I remembered that I had a half of a red onion from the night before. With a jar of sun dried tomatoes and some balsamic vinaigrette dressing to top it off, I had enough ingredients to make a meal!

I chopped the bell peppers and the remaining onion and placed them in a bowl. I added both cans of beans after I drained and rinsed them. I only put sun dried tomatoes and dressing on my lunch portion, and stored the rest of the bell pepper and bean mixture in a container for later (the veggies will keep their crisp without soaking in dressing). It's nice to know that I can whip up lunch with a few scattered ingredients!

My favorite sun dried tomatoes from Trader Joe's!

Tuesday, May 24, 2011

Puréed Yams with Raisins + Pecans

My beautiful bowl of yams were calling me the other day.

"....eeeaat meeee..."

I decided to put my food processor to good use.

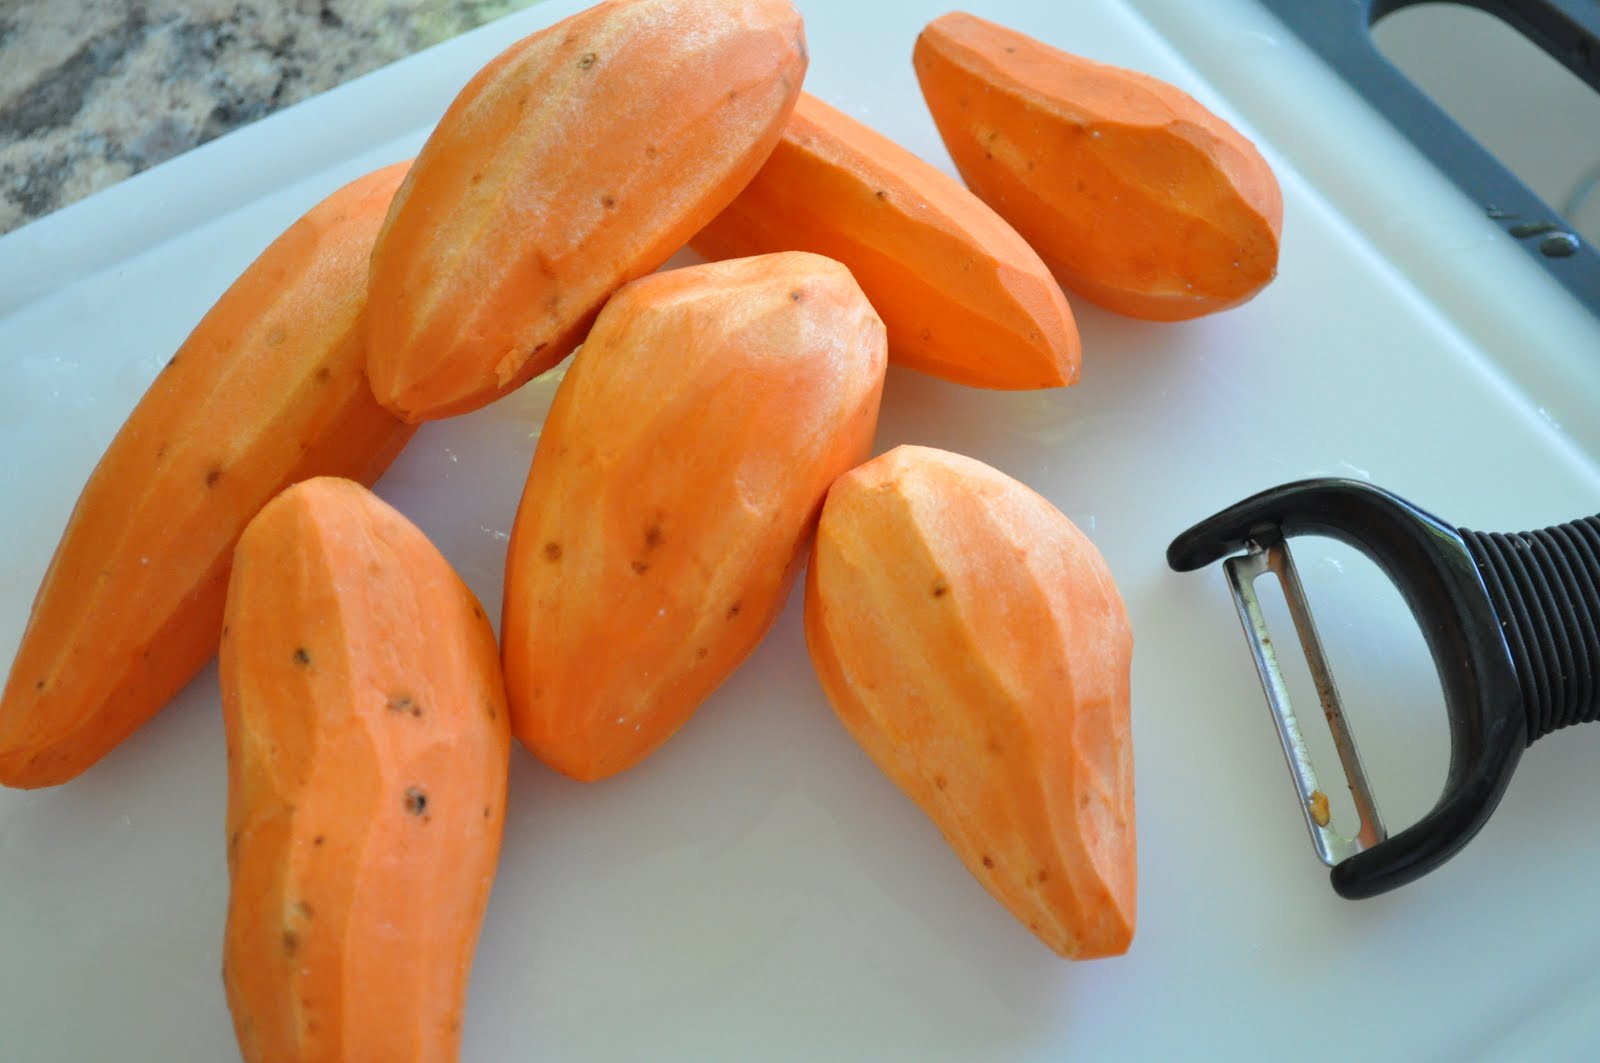
Along with 6-7 small yams, gather these ingredients:
*1 tbsp ground cinnamon
*1/4 cup pure maple syrup
*1 cup raisins
*1 cup chopped pecans

This recipe makes enough for 3-4 people, as a side  or small meal.
I gathered seven small yams; peeled, rinsed them, and chopped them into one inch cubes.


Place the cubes in a pot of boiling water.
Once a toothpick can easily pierce the yams, carefully pour the yams into a strainer over the sink.
Let the yams sit for a little bit to slightly cool, then place them in your food processor (a blender will probably work fine too). Add the cinnamon and maple syrup to the yams and purée.
Place your serving in a bowl and sprinkle raisins and pecans on top.

Delicious.


I chose to have my serving warm, but I placed the remainder of the yams in a container and stored it in the fridge. Also, I mixed the raisins and pecans together and put them in a separate container from the yams. You don't want to store all of them together because the pecans might get soft. If you don't want to eat the yams cold, feel free to heat them in the microwave before adding the raisins and pecans.


Saturday, May 21, 2011

Simple Joys

What a beautiful way to start my morning.
These are some shots from our backyard.


Friday, May 20, 2011

Our New Home!!!

We moved!! I love everything about our new home! Of course, the kitchen is my favorite spot.

We have a fabulous kitchen window that brings in perfect natural light. I'm still organizing everything, but I have arranged some of my jars on the window sill. Look at how gorgeous they look:


Ahhh, perfection.

Tuesday, May 10, 2011

Grilled Almond Butter + Strawberry Sandwich

I just devoured this deliciously crispy and savory sandwich for breakfast! It has fabulous flavor and perfect texture.

This recipe was adapted from OhSheGlows.com.

Ingredients:
  • 3 pieces of whole grain bread (Costco has my favorite Organic whole grain bread)
  • strawberry jam (Costco also has the BEST Organic Strawberry Spread)
  • chunky almond butter
  • Earth Balance butter
Start by spreading almond butter on one slice of bread then spread jam on top of that. Repeat on a second slice of bread and place on top of the first slice. Place the third slice of bread on top. of both.


Spread Earth Balance on the top slice of bread and place butter side down in a heated skillet. Once in the skillet, spread more butter on the top slice. (Probably not the safest thing, but it worked).
**drooling**
I like my grilled sandwiches a little browner, so I let mine grill for a little longer than normal. DELISH!! <3

Monday, May 9, 2011

Sweet Potato, Chickpea, Coconut Comfort

My kitchen smelt like a tropical Thanksgiving when I was cooking this dinner! This recipe is great as a side dish or for a filling lunch or dinner.

Adapted from OhSheGlows.com

Ingredients:
  • 1 cup cooked chickpeas (I used canned)
  • 1 large sweet potato
  • 1 heaping tablespoon of coconut oil, melted
  • 1 teaspoon salt
  • 1 teaspoon cinnamon
  • A sprinkle of shredded coconut
Preheat the oven to 350° and line a baking sheet with parchment paper. Peel and chop the sweet potato into half-inch chunks and place them into a bowl. Drain the chickpeas and add them to the sweet potatoes. Toss them with the salt, cinnamon, and half of the melted coconut oil.
Spread the mixture onto the parchment paper and bake for about 45 minutes or until you can pierce the sweet potato with a fork.
 
Put the mixture into a bowl and toss with the rest of the melted coconut oil and sprinkle on the shredded coconut.
*On this batch, my sweet potatoes got a little too brown and my chickpeas turned out more crunchy then creamy. I tried this again the next day for lunch and I took them out of the oven sooner. The first time I tried this recipe, I think I was just worried that they weren't cooked all the way. The flavors were still phenomenal though!! *

Friday, May 6, 2011

So Annoying!!

For some reason, our dishwasher has decided to leave soapy residue on all of our black plastic cooking utensils. Not pretty!! So we either have to hand wash them from now on, or find an inexpensive bundle of new ones when we move and try out our new dishwasher. Any suggestions as to how to avoid this problem?

Thursday, May 5, 2011

The True Forbidden Fruit

Avocados are one of my favorite foods of all time. There is something about their creamy texture and delicious flavor that send me over the edge. Not to mention the many health benefits! These fabulous little green pieces of heaven are on sale at Ralph's right now for $0.88. I was thinking, how amazing would it be to be able to have fresh, ripe avocado any time I want, for months at a time? I loved this idea so I put it into action.  I bought 17 and decided to freeze them!

I started by gathering 8 of the 17 avocados that I bought (the rest were too hard), cut them in half and removed the seeds.
I carefully scooped out each avocado half, placed them in a plastic container and squeezed lime on them to reduce browning from air exposure.
After they were coated with lime, I used 3 quart size storage bags and was able to fit 5 halves into each bag. I ate one half :) 


Now, whenever I need avocado, I can just take out as much as I need and let it defrost. Perfection


Wednesday, May 4, 2011

Leave Your Mark

This is a super easy, really fun way to make stylish bookmarks for gifts or for your own book collection. I made a few of these for a bookmark swap for my book club group (Hey Girls!!). We each made or bought a book mark and randomly picked them out of a bag; a great way to start your first book club meeting!

Materials needed:


  • a few sheets of printed scrapbook paper
  • solid color card stock paper (card stock will help make your bookmark sturdier)
  • scissors
  • decorative scissors
  • an assortment of ribbon
  • clear contact paper
  • a hole punch
  • a glue stick
  • a ruler
  • a pencil
Start by using a ruler to measure the size bookmark that you want and cut it out with decorative scissors. (I have a pretty good eye, so I just cut my scrapbook paper with decorative scissors without tracing first. But use a pencil on the backside of the paper if you want to make sure it's perfect!)  Once you have your scrapbook paper cut-out, match it up with a piece of card stock paper for the background of your bookmark. Leave a small border around your cut-out and cut the solid paper with regular scissors.


Line up the contact paper and cut a strip twice as long as your bookmark. Cut the contact paper strip in half.
Before you cover your bookmark with contact paper, punch a hole 1/2" from the top. Also, I stamped the back of my bookmark with a personalized stamp. If you are giving your bookmark away, this is a sweet way to personalize it for a friend.
Peel the backing off of the contact paper and place your bookmark on one piece. Carefully match up the other piece of contact paper to the bottom of the first piece and slowly press them together, rubbing out any air bubbles.
Trim off the excess contact paper and tie your ribbon through the hole. (Fold the ribbon end to end, feed it through the hole, gather the ribbon ends and pull them through the ribbon hole.)

TA-DA! Perfect!


Monday, May 2, 2011

Mini Carrot Cake Bites


This vegan recipe is from OhSheGlows.com. I have made several recipes from this site and I am completely hooked! My kitchen has turned upside-down and my body is thanking me. I haven't gone completely vegan, but I have challenged myself to better snacking and portion control. Buying oats and sesame seeds in bulk is exhilarating :)  I've lost 4 pounds in a little over a week! 

Mini Carrot Cake Bites:

Ingredients:
  • 1/2 cup whole wheat flour
  • 1/4 cup regular oats
  • 1/4 cup unsweetened coconut
  • 1/2 tsp baking powder
  • 1/4 tsp kosher salt
  • 1/4-1/3 cup chopped walnuts (I used 1/3 because I LOVE walnuts)
  • 1/2 cup shredded carrots, packed
  • 1/4 cup raisins, soaked in water overnight*
  • 1/4 cup pure maple syrup
  • 1/4 cup coconut oil, warmed for about 25 seconds in the microwave
  • 1/2 tsp fresh ginger, grated
  • Pinch of ground cinnamon
  • 1/2 tsp pure vanilla extract
*The raisins will double in size. Drain the raisins of any water before you use them.

Start by preheating the oven to 350° and line a baking sheet with parchment paper. Whisk the flour. cinnamon, baking powder, salt, & oats in a large bowl. Add the nuts, coconut, raisins, & shredded carrots. In a small bowl, mix the maple syrup, softened coconut oil, vanilla, & grated ginger. Add this to the flour mixture & stir until combined.

Drop a heaping tablespoon of dough onto the lined baking sheet. (I used my tablespoon cookie scoop and rolled the scoop into a ball with my hands.) Bake for about 12 minutes and cool for 10 minutes on a baking rack. You should be able to make 15 mini bites.

(*Steal bites of dough!*)
All Finished!! YUMM